

those scarce marine forces, valiantly defend a hillside on the left side, while the chaos hordes come forth from the right side.
The rest of this entry is a WIP description on how I went about making the diorama.
First off, I had to make a base for it. I decided to cut a piece of plywood to shape, so that it would cover the whole windowsill. Then i placed some paper on it, to draw out the shapes and locations of all the elements that I wanted to put on it. Once that was done, I simply cut out those elements from styrofoam. In retrospect, I would now use different material, since regular styrofoam has large, visible bubbles, that do not look so awesome in the end.
The hill was roughly cut to shape with a technical knife and craters were simply burned with a zippo lighter :) The building on the right side was assembled with leftover scraps of styrofoam and decorated with some cork (rubble). All the items where then "stuck" to base with some wood filler (don't know the english word for it, but it's like a paste to fill gaps in wood, that hardens after a while). I also made a piece of road from some sandpaper.


Once that was complete, I covered it all with PVA glue and put sand on it, to give it some nice texture.

That had to dry overnight to get me to the next step, which is basecoating. For that purpose, I bought a special, water based, black spray paint that would not burn through the styrofoam.

That took another full day to dry completely and, once the basecoat was ready, I started painting it. The idea was, that the lefthand hill would be the last semi-lush area, defended by the marines, while the rest of the board would be a wartorn battlefield, infested by chaos forces.

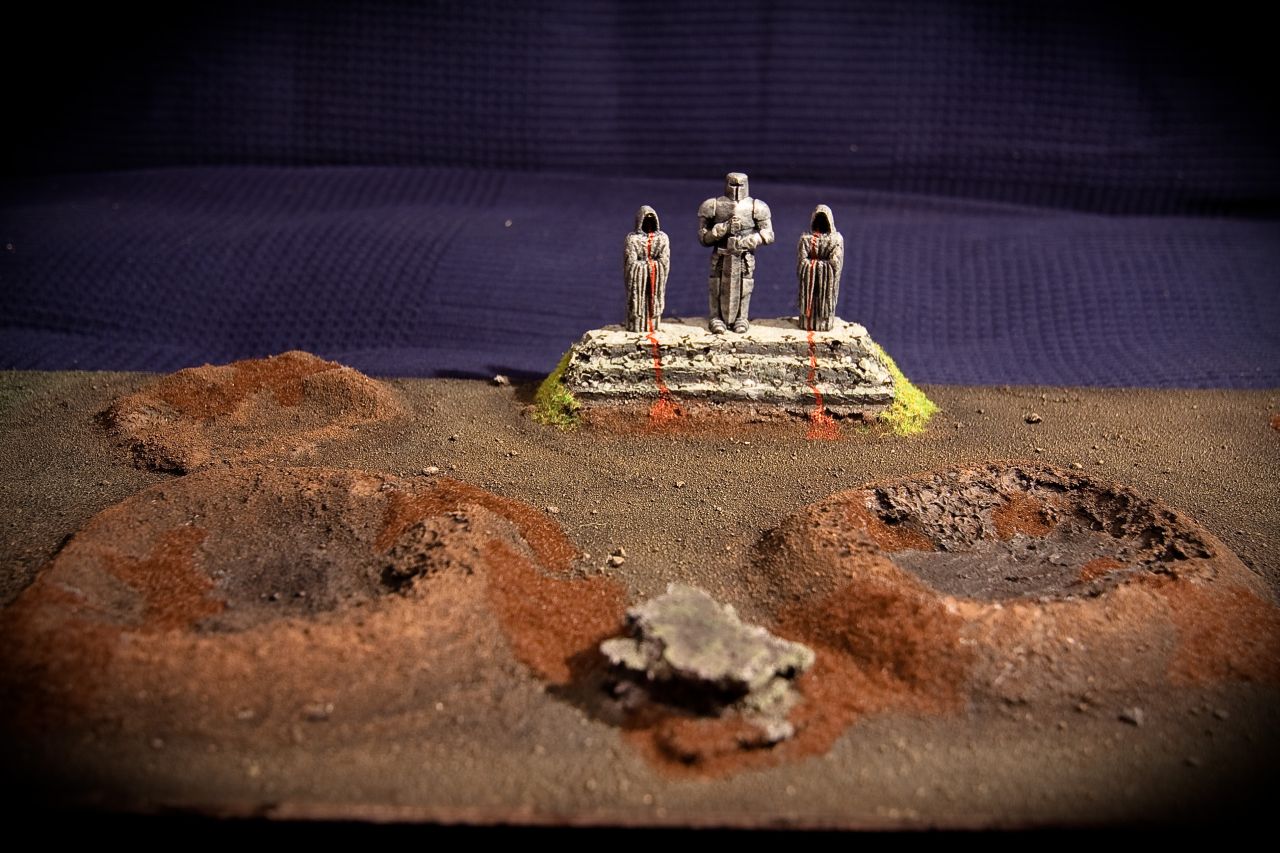
I also made a little pseudo-temple/shrine there in the middle with some prepurchased clay statues to insert an additional detail. Later on, I've also added some home-made barbed wire and some sandbags (not on pics). I've recently also purchased the battlefield gadgets kit, that I plan to add on in the near future.
Anyway, after many hours of furious drybrushing, static grass placing and also some fine detail painting, I came up with the following:


Once I fill this whole thing up with models, I'll post an update, to show off the epic battle in progress :)
That's a pretty amazing idea, putting it on your windowsill. I might use that for my (rather small!) Chaos collection. Out of interest, how tough is the Styrofoam once it has been painted?
ReplyDeleteIf I wanted to dent it with my bare hands, I would probably have to put the weight of my entire body into it... Seriously, I just touched it and there is no way in hell I could destroy it without some tools :D
ReplyDeleteAlso, the burnt out parts get incredibly durable, because while melting, the styrophoam sort of converges and "implodes", making it very, very hard. That's why, you can only burn it to shape to a limited extent. Afterwards, a sort of "breaking point" occurs, where it has no more room to implode and starts to simply burn instead.
Thanks, that just cleared all my worries about making terrain out of styrofoam rather than plastic!
ReplyDelete